How to Fly a Quadcopter Drone for Beginners
Flying a drone is one of the most exciting hobbies you can pick up, but getting started can feel overwhelming. If you’ve just bought your first drone and don’t know what to do next, you’re in the right place. This guide will walk you through everything on How to Fly a Quadcopter Drone for Beginners—setup, takeoff, basic flight skills, and advanced techniques. By the end, you’ll be flying with confidence.
Let’s start with the first and most important step: pre-flight preparation.
1. Pre-Flight Preparation: Getting Ready to Fly
Before you even think about taking off, there are a few things to check. A little prep work goes a long way in making sure your flight is smooth and safe.
Check the Rules
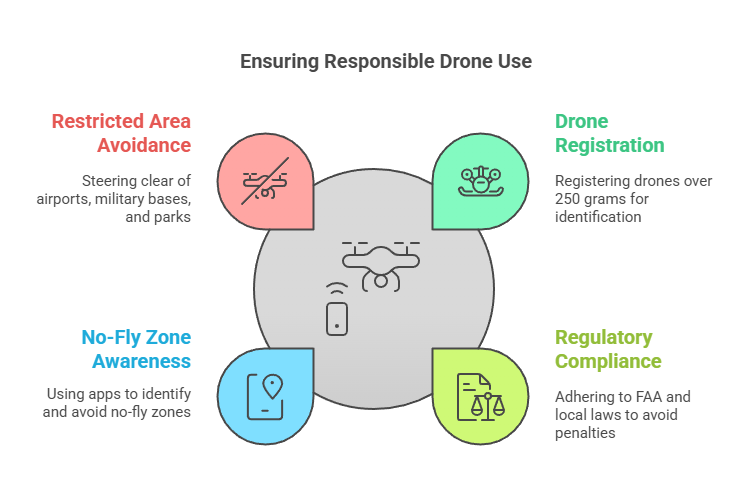
Not all airspace is open for drones, so make sure you know where you can and can’t fly.
- Register your drone if it weighs more than 250 grams.
- Follow FAA or local regulations to avoid fines and legal trouble.
- Check for no-fly zones using apps like B4UFLY or Airmap.
- Avoid restricted areas like airports, military bases, and national parks.
Pick a Good Flying Spot
The best place to practice is a wide-open space with no trees, buildings, or crowds.
- Choose a flat surface for takeoff and landing.
- Avoid power lines or anything that could interfere with the signal.
- Check the weather—strong winds can make flying tough, and rain can damage electronics.
Go Through Your Pre-Flight Checklist
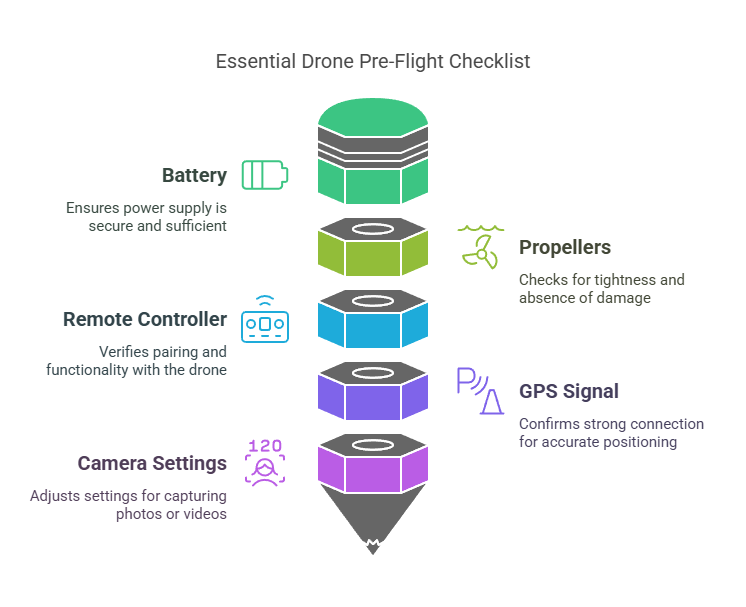
A quick check before you power up will save you a lot of headaches mid-flight.
- Battery – Fully charged and securely in place.
- Propellers – Tight and free of cracks or damage.
- Remote controller – Paired with the drone and working properly.
- GPS signal – Strong connection for accurate positioning.
- Camera settings – Adjusted if you plan to capture video or photos.
Once everything looks good, you’re ready to fly. The next step? Getting off the ground.
2. Mastering Takeoff and Landing: The Foundation of Drone Flying
Getting your drone in the air is one thing—landing it safely is another. These two skills are the foundation of everything else you’ll do, so practice them until they feel second nature.
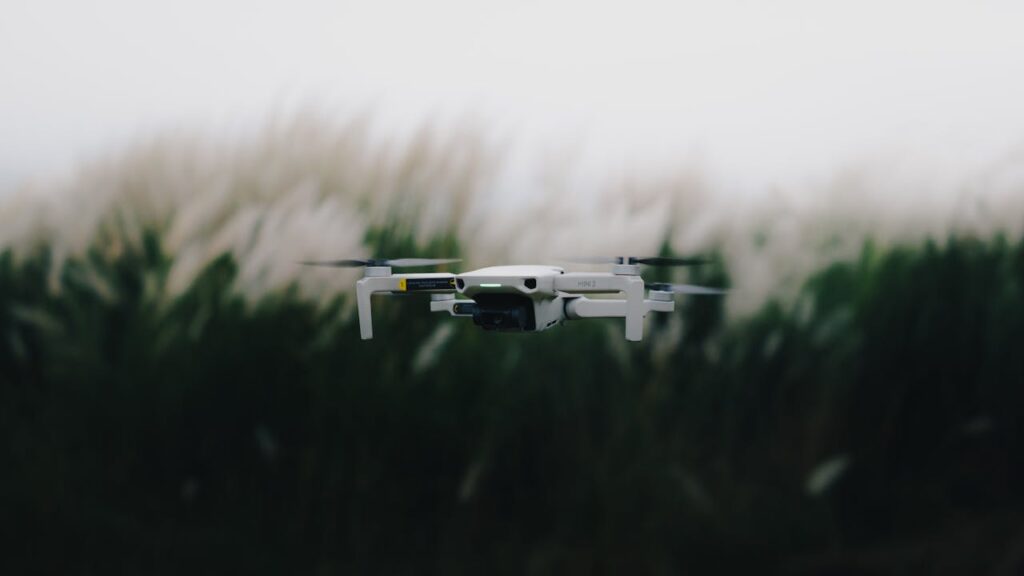
How to Take Off Smoothly
A shaky takeoff can set you up for a rough flight. Follow these steps to lift off the right way:
- Place the drone on a flat surface with plenty of open space around it.
- Turn on the controller first, then the drone—this ensures a proper connection.
- Check GPS and signal strength to make sure everything’s locked in.
- Slowly push up on the throttle (left stick) until the drone lifts off.
- Hover at about 5-10 feet for a few seconds to stabilize.
Landing Like a Pro
Coming down is just as important as taking off. Hard landings can break propellers, damage motors, and even flip your drone. Here’s how to land smoothly:
- Slowly reduce throttle while keeping the drone level.
- Pick a clear, flat area and gently guide the drone toward it.
- Use small stick movements to adjust position as you descend.
- Once close to the ground, ease off the throttle and let the drone settle.
- Power down the drone first, then the controller to prevent accidental movement.
Pro Tip: Mark a small landing zone and practice touching down in that exact spot. It’ll help with precision control and make landing easier in tricky areas later on.
3. Hovering: The Key to Stability and Control
Before you start zipping around, you need to master hovering. It’s the skill that helps you keep your drone steady in the air, line up shots for video, and make smooth directional changes. If you can’t hover, flying in tight spaces or dealing with wind will be a challenge.
How to Practice Hovering
- Take off and bring your drone to about 5-10 feet above the ground.
- Hold position using tiny stick movements.
- If the drone drifts forward, gently pull back on the right stick.
- If it moves sideways, make small adjustments left or right.
- Keep an eye on the drone’s stability.
- Wind or uneven calibration might cause slight movement. Adjust as needed.
- Maintain the hover for at least 30-60 seconds before landing.
Why Hovering Matters
- Helps with stability when flying in tight spaces.
- Makes landing easier since you’ll have better control.
- Improves video quality for drone photography.
- Builds confidence before moving on to more advanced maneuvers.
Pro Tip: Try hovering at different heights and in different wind conditions to improve control.
4. Basic Flight Maneuvers: Learning to Control Your Drone
Now that you can hover, it’s time to move in different directions. These basic maneuvers lay the groundwork for more advanced flying. Get comfortable with them before trying anything fancy.
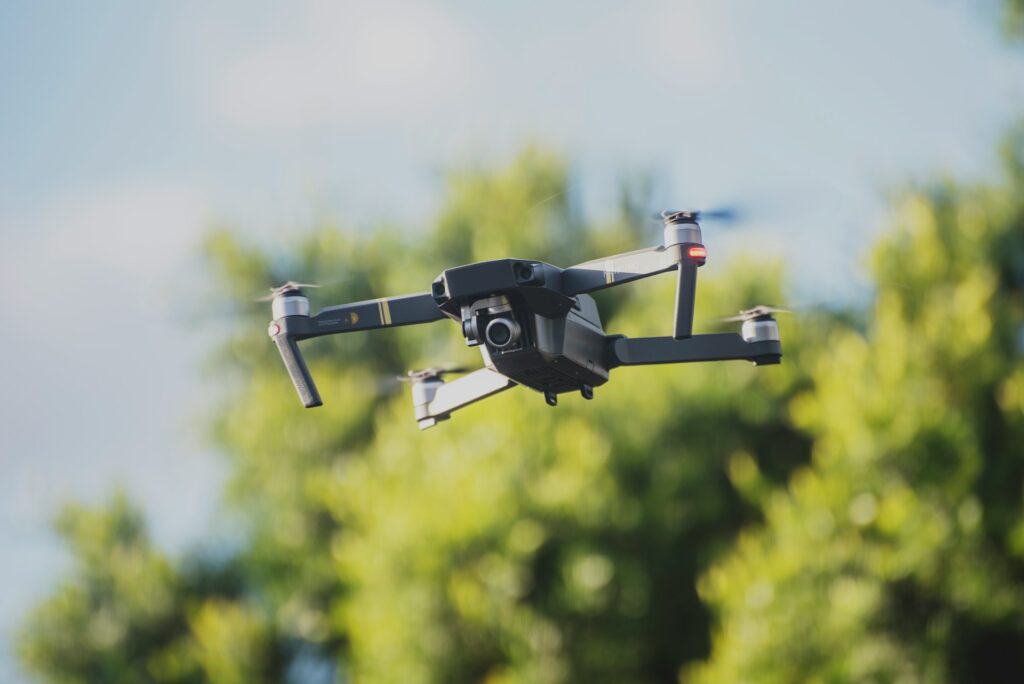
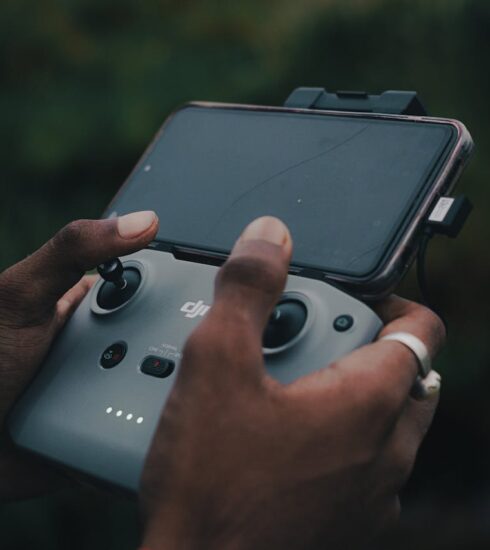
Understanding Your Controller (Mode 2 Setup)
Most drones use Mode 2 controls, which means:
- Left Stick (Throttle & Yaw)
- Up/Down = Increase/Decrease altitude
- Left/Right = Rotate drone left or right (yaw)
- Right Stick (Pitch & Roll)
- Up/Down = Move drone forward or backward
- Left/Right = Move drone left or right
Practicing Basic Movements
- Moving Forward & Backward
- Push the right stick forward to move forward.
- Pull it backward to reverse.
- Side-to-Side (Rolling Left & Right)
- Push the right stick left to slide left.
- Push it right to slide right.
- Rotating (Yawing Left & Right)
- Push the left stick left to rotate counterclockwise.
- Push the left stick right to rotate clockwise.
Pro Tips for Smooth Control
Start with slow, controlled movements—jerky inputs can send your drone flying too fast.
Practice moving one direction at a time before combining movements.
Keep the drone facing forward until you’re comfortable—flying while it’s facing you can be tricky at first.
Once you can confidently move in all directions, you’re ready for more advanced techniques.
5. Advanced Techniques: Flying Like a Pro
Once you’re comfortable with basic movements, it’s time to step things up. These advanced techniques help you fly more smoothly, take better footage, and navigate complex areas with ease.
Flying in a Square Pattern
This drill helps build precision and control.
- Move forward 10 feet.
- Slide right 10 feet.
- Move backward 10 feet.
- Slide left 10 feet back to your starting position.
Flying in a Circle
Great for learning how to combine movement and rotation.
- Push the right stick forward to move forward.
- At the same time, slowly turn the left stick right or left to create a circular flight path.
- Keep the circle as even as possible.
Banked Turns
This technique creates smooth, cinematic turns instead of sharp, robotic-looking ones.
- Push the right stick forward to gain speed.
- Gently rotate the left stick in the direction you want to turn.
- Slightly roll the right stick in the same direction to create a smooth banking effect.
Pro Tips for Advanced Flying
Combine yaw and roll for smoother, more natural movement.
Use small, gradual stick movements to avoid jerky motions.
Practice in an open area before flying in tighter spaces.
Once you get comfortable with these techniques, you’ll start flying like a pro. Now, let’s go over some important safety tips.
6. Safety Tips for Every Flight
Flying a drone is fun, but it also comes with responsibilities. A few simple precautions can prevent crashes, protect your drone, and keep you out of trouble.
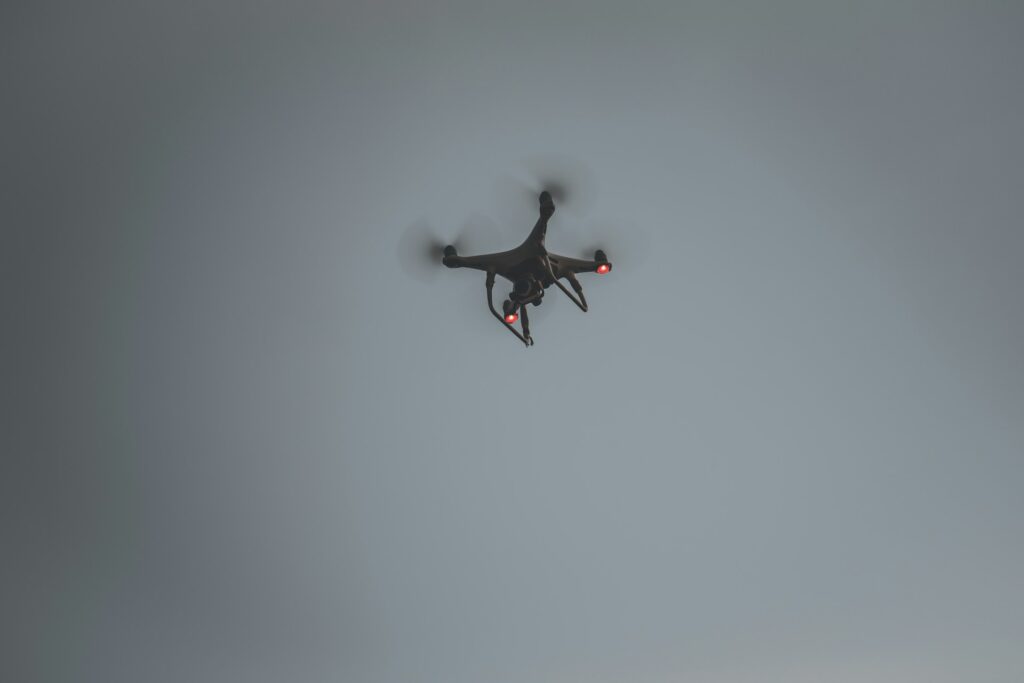
Keep Your Drone in Sight
- Always maintain visual line-of-sight (VLOS)—don’t rely solely on the camera feed.
- If the drone gets too far away, return it closer before continuing.
Avoid Flying Over People or Private Property
- Stay away from crowds, roads, and houses to avoid accidents or complaints.
- If flying near people, make sure they know and are comfortable with it.
Watch Your Battery Levels
- Most drones have a “Return to Home” (RTH) feature, but don’t wait for the battery to get too low.
- Plan your flight so you have enough power to return safely.
Be Aware of Weather Conditions
- Wind, rain, and extreme temperatures can mess with your drone’s stability and performance.
- Avoid flying in gusty conditions unless you have experience handling wind.
Announce Your Takeoffs and Landings
- If you’re flying in a shared space, let people know when you’re taking off or landing.
- This prevents unexpected movements that could lead to accidents.
Pro Tip: If something goes wrong mid-flight, don’t panic—let go of the control sticks. Most drones will stabilize themselves if you stop giving inputs.
Now that you know how to fly safely, let’s talk about how to improve your skills.
7. Practice Drills to Sharpen Your Skills
Getting good at flying a drone isn’t about speed—it’s about control. These simple practice drills will help you build confidence, accuracy, and smooth flight movements.
Drill #1: Hover Stability
This drill helps with keeping the drone steady in different conditions.
- Take off and hover at 5-10 feet.
- Hold position for at least 30 seconds without drifting.
- Try adjusting the height slightly while staying in the same spot.
- Land softly and repeat.
Drill #2: Landing Accuracy
The better you get at precise landings, the easier flying will be.
- Place a small landing marker (like a towel or hula hoop) on the ground.
- Take off, hover, then land exactly on the target.
- Start with a larger target and gradually make it smaller.
Drill #3: Obstacle Course Challenge
This helps improve your reaction time and control.
- Set up cones, boxes, or markers in an open area.
- Fly forward, left, right, and backward around the obstacles.
- Work on precision turns and speed control.
Drill #4: Altitude Transitions
Get comfortable moving between high and low flights.
- Start at low altitude (5-10 feet).
- Slowly ascend to 30-50 feet.
- Descend smoothly back to the starting height.
- Repeat at different speeds to improve control.
Pro Tip: Try flying in different wind conditions to see how your drone reacts and learn how to adjust your inputs.
Final Thoughts: Keep Practicing and Have Fun
Learning how to fly a quadcopter drone for beginners takes time, but every flight makes you better. Start with the basics—hovering, smooth takeoffs, and gentle landings—then move on to more advanced maneuvers. The more you practice, the more confident you’ll become.
If you’re ready to level up, try flying in different locations, experimenting with video footage, or even getting into drone racing. Whatever you do, stay safe, fly smart, and enjoy the view from above.
Want more drone flying tips? Drop a comment below with your biggest challenges or favorite flying spots!
FAQ: How to Fly a Quadcopter Drone for Beginners
1. Do I need to register my drone before flying?
It depends on the drone’s weight and your country’s regulations. In the U.S., if your drone weighs more than 250 grams, you must register it with the FAA. Check your local laws before flying.
2. What is the best way to practice flying a drone?
Start with basic drills like hovering, controlled landings, and flying in a square pattern. Use an open area with minimal obstacles and avoid flying in windy conditions until you’re more experienced.
3. Why does my drone drift when I try to hover?
Drifting can happen due to wind, improper calibration, or GPS signal loss. Before flying, make sure your drone is on a flat surface when powering on, perform any necessary calibrations, and check for strong GPS signal.
4. What should I do if my drone loses connection mid-flight?
Most drones have a Return-to-Home (RTH) function that automatically brings them back to the takeoff point. If that doesn’t work, try re-establishing connection by moving closer to the last known location while keeping your controller powered on.
5. How do I make my drone footage look smoother?
Use gentle stick movements to avoid jerky motions, practice banked turns for fluid shots, and consider using a gimbal-stabilized drone for professional-looking video. Filming in higher frame rates (60fps or more) can also help create smoother footage.
