Beginner’s Guide to Taking Photos with a Drone.
Drone photography has changed the game for capturing amazing aerial shots. What used to take a helicopter or a tall building can now be done with a small device you control from the ground. Whether you’re shooting landscapes, real estate, or just having fun, taking photos with a drone offers a fresh way to see the world.
If you’re new to this, don’t worry. This guide breaks everything down, from picking the right drone to nailing your first shots. Let’s dive in and get you started.
This post contains affiliate links. If you purchase through these links, I may earn a small commission at no additional cost to you. Your support helps keep this site running—thank you!
Understanding Drone Photography
Before you launch your drone into the sky, let’s go over the basics.
What Is Drone Photography?
Drone photography is exactly what it sounds like—using a drone to take photos from the air. These shots can range from stunning landscapes to cityscapes, action shots, and even creative abstract compositions.
Why Is Drone Photography So Popular?
Here’s why so many people are into it:
- Unique perspectives – You can get angles and views that were impossible before.
- Affordable tech – You don’t need thousands of dollars to get started anymore.
- Versatile use – From social media content to professional real estate photography, drones have a ton of applications.
- Fun factor – Flying a drone is just plain cool.
Essential Equipment for Beginners Taking Photos with a Drone
Before you start taking photos with a drone, you need the right gear. Here’s what you’ll want to have:
1. Choosing the Right Drone
Not all drones are built the same. As a beginner, look for:
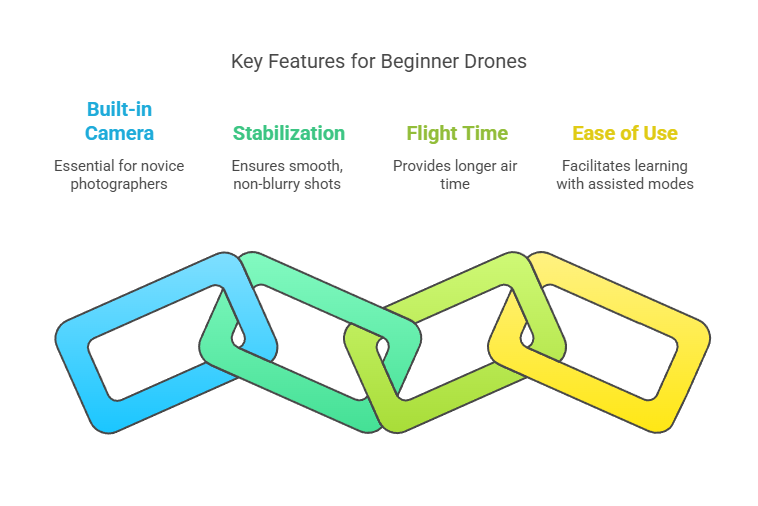
- Built-in camera – If you’re new to photography, a drone with a solid built-in camera is the easiest way to start.
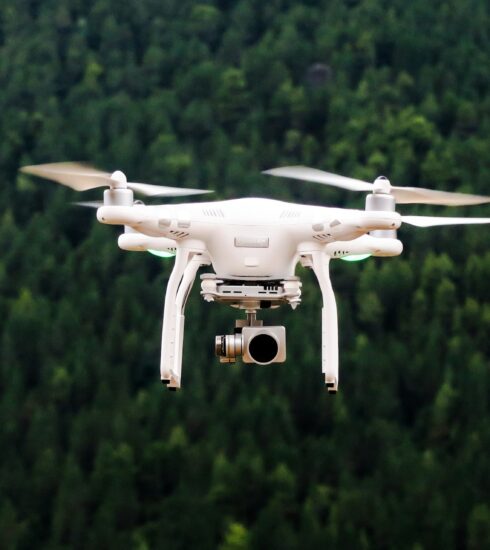
- Stabilization – A gimbal is a must if you want smooth, non-blurry shots.
- Flight time – Longer battery life means more time in the air.
- Ease of use – Beginner-friendly drones offer assisted flight modes that make learning easier.
Some great beginner options:
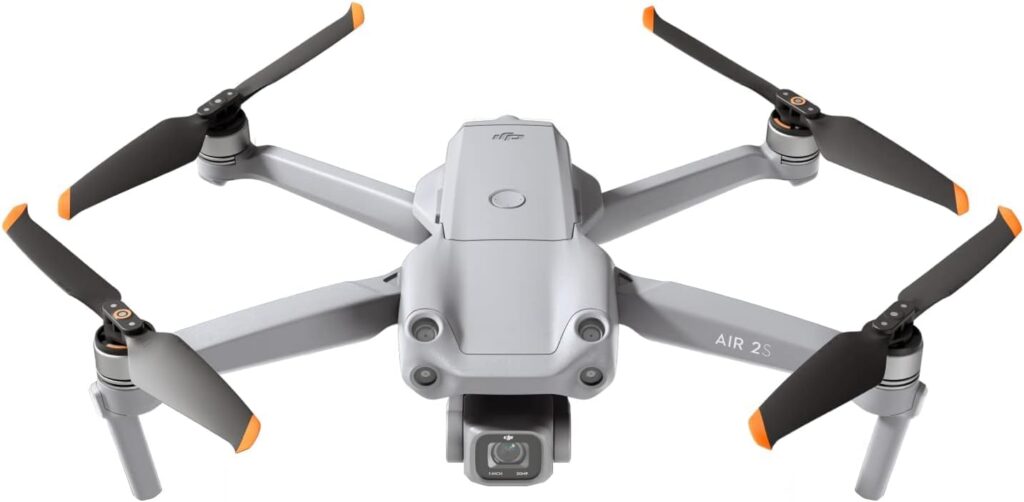
- DJI Mini 3 – Compact, lightweight, and easy to fly.
- DJI Air 2S – Better camera and flight time for those who want to step up.
- Autel EVO Nano+ – A solid competitor to DJI with great camera features.
2. Must-Have Accessories
Having the right extras makes a big difference.
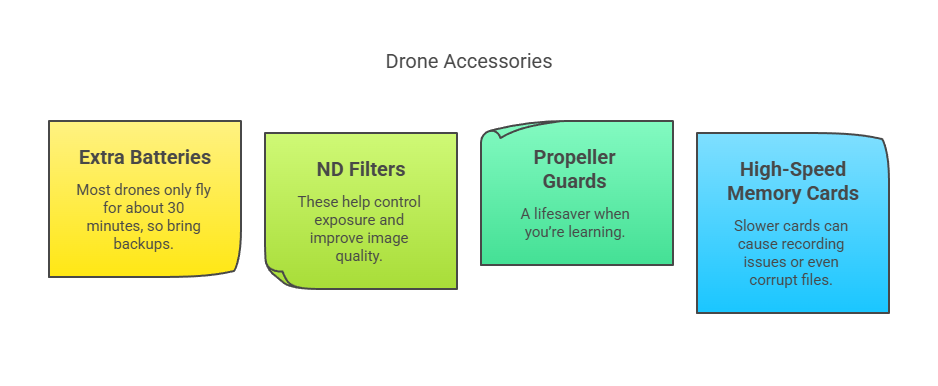
- Extra batteries – Most drones only fly for about 30 minutes, so bring backups.
- ND filters – These help control exposure and improve image quality.
- Propeller guards – A lifesaver when you’re learning.
- High-speed memory cards – Slower cards can cause recording issues or even corrupt files.
Learning to Fly: Basic Drone Operation
Before you focus on taking photos with a drone, you’ve got to be comfortable flying it.

1. Know Your Drone Controls
Most drones have similar controls:
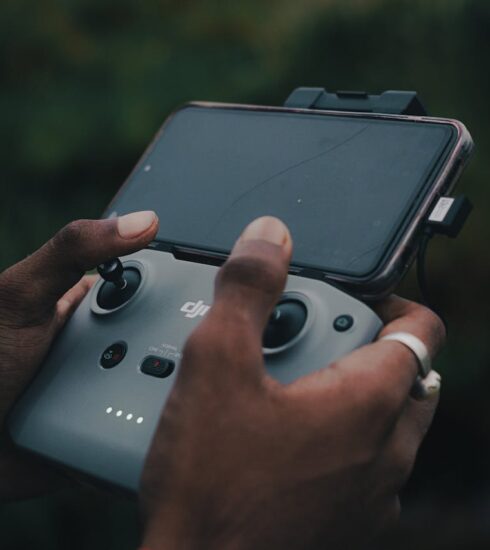
- Left joystick – Controls altitude (up/down) and rotation (left/right).
- Right joystick – Controls movement (forward/backward, left/right).
- Camera controls – Adjust tilt, zoom, and shutter settings.
2. Safe Flying Practices
- Start in an open area – Avoid obstacles while you’re getting the hang of things.
- Check the weather – Windy days can make flying tough.
- Keep an eye on battery life – Land with at least 20% battery left.
- Stay under legal limits – In most places, you need to keep your drone below 400 feet.
3. Practice Flight Maneuvers
- Hovering – Get comfortable keeping the drone stable in the air.
- Slow movements – Jerky movements lead to bad photos and shaky videos.
- Tracking a subject – Try following a moving object smoothly.
Mastering Aerial Photography Techniques
Flying is just one part of the equation. To get the best shots, you’ll need to understand camera settings and composition.
1. Adjusting Camera Settings
Your drone camera settings are just as important as your flying skills.
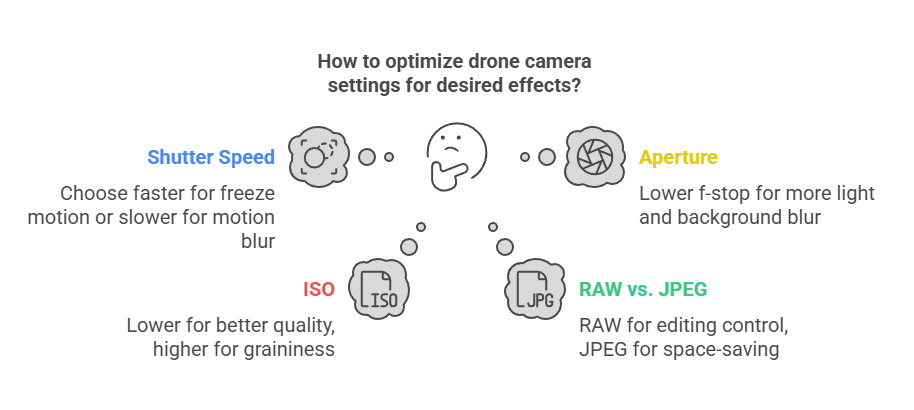
- Shutter speed – A faster shutter freezes motion, while a slower one adds motion blur.
- Aperture – Affects how much light enters the camera. Lower f-stop numbers create more blur in the background.
- ISO – The lower, the better for image quality. High ISO can make shots look grainy.
- RAW vs. JPEG – RAW gives you more control in editing but takes up more space.
2. Composition Techniques
Great photos aren’t just about pointing your camera at something cool. You need strong composition.
- Rule of Thirds – Place key elements along imaginary grid lines for a balanced shot.
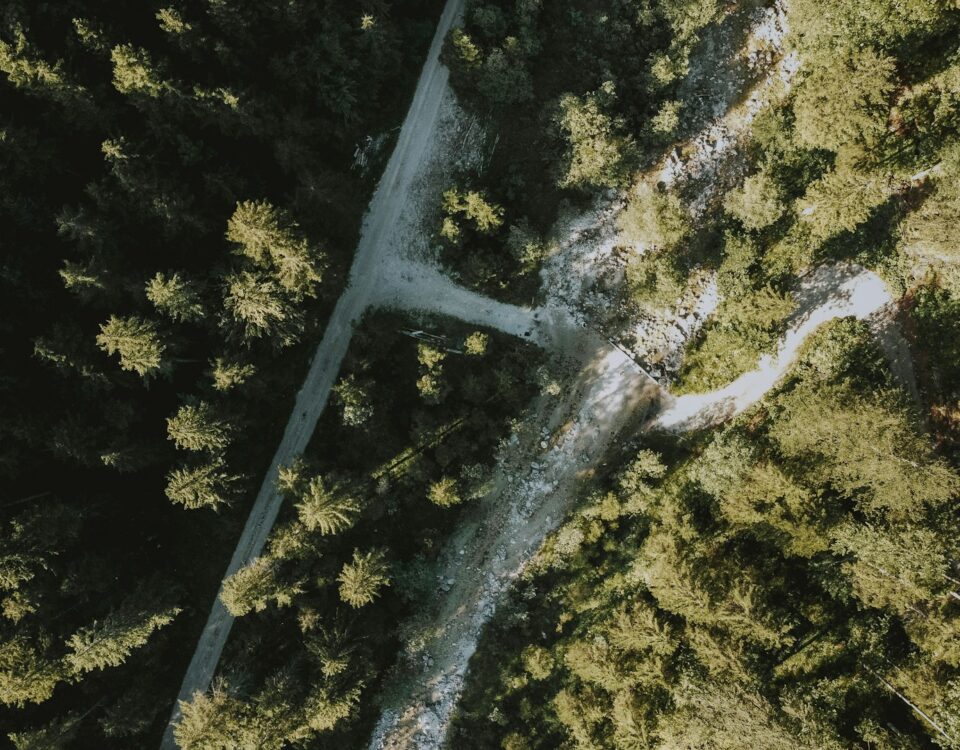
- Leading Lines – Roads, rivers, and paths naturally draw the viewer’s eye.
- Patterns and Textures – Fields, rooftops, and waves look amazing from above.
- Frame Your Shot – Use trees, bridges, or shadows to create natural frames.
Legal and Ethical Considerations
Drones are fun, but there are rules you need to follow.
1. Know the Local Laws
- Register your drone if required.
- Avoid restricted areas like airports and government buildings.
- Follow altitude limits (usually 400 feet in most places).
2. Respect Privacy
- Don’t fly over private property without permission.
- Avoid recording people without consent.
3. Consider Drone Insurance
- Covers damage and liability if something goes wrong.
Post-Processing Your Aerial Images
Editing makes a huge difference in the final look of your drone photos.
1. Best Editing Software
- Adobe Lightroom – The go-to for photographers.
- Luminar Neo – AI-powered edits make things easy.
- Photoshop – Great for advanced touch-ups.
2. Key Edits to Make
- Adjust brightness and contrast.
- Fix exposure issues.
- Enhance colors and saturation.
- Crop and straighten for better composition.
Tips for Successful Drone Photography
1. Plan Your Flights
- Use Google Maps or drone apps to scout locations.
- Check sunrise and sunset times for the best lighting.
2. Maximize Battery Life
- Avoid full-throttle flying.
- Keep batteries warm in cold weather.
- Turn off unnecessary features when not in use.
3. Keep Learning
- Watch online tutorials.
- Follow top drone photographers for inspiration.
- Experiment with new techniques and locations.
Conclusion
Taking photos with a drone is an exciting way to push creative boundaries. With the right gear, good flying skills, and solid photography techniques, you can capture incredible shots that weren’t possible before. The key is practice—so get out there, fly safe, and start shooting!

