Build Confidence With Simple Drone Flight Practice Drills
Drones open up a whole new way to capture photos from angles most people never get to see. If you’re just starting out, it can be tough to know what to shoot or how to get the best results. The good news? You don’t need fancy gear or years of experience to take stunning aerial shots.This guide walks you through easy projects to build your skills, plus tips on drone flight practice so you can fly with confidence.
This post contains affiliate links. If you purchase through these links, I may earn a small commission at no additional cost to you. Your support helps keep this site running—thank you!
Understanding Your Drone
Before you start snapping pictures, it’s a good idea to get familiar with your drone. Each model is a little different, but they all follow the same basic principles.
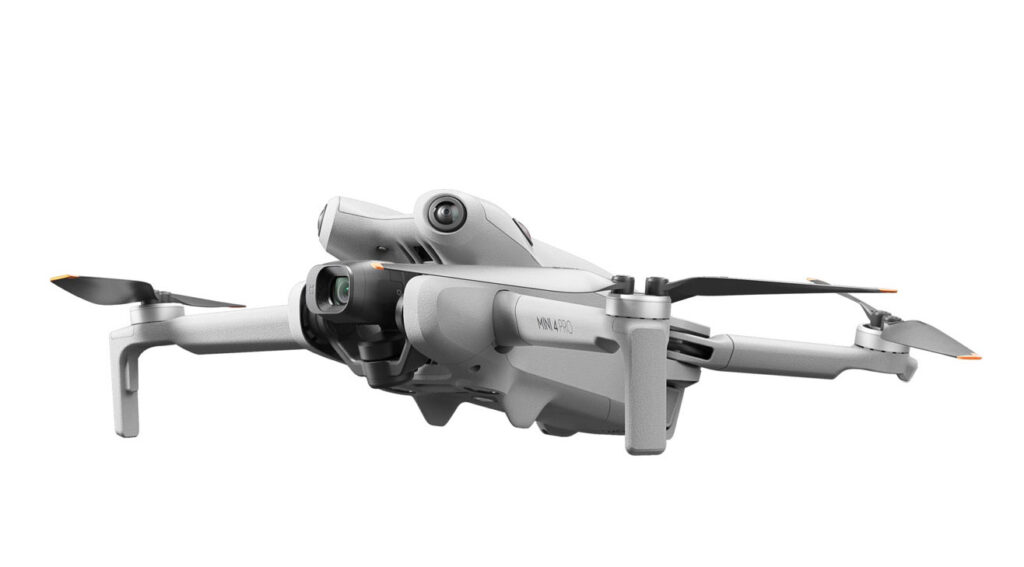
Choosing the Right Drone
If you haven’t bought a drone yet, here’s what to look for:
- Camera quality – Higher megapixels and a larger sensor mean better photos.
- Stabilization – A gimbal keeps shots steady, especially in windy conditions.
- Flight time – Most beginner drones fly for 15–30 minutes per battery charge.
- Ease of use – Some drones have beginner modes to help with takeoff, landing, and steady hovering.
- Budget – Entry-level drones start around $300, while pro models can go into the thousands.
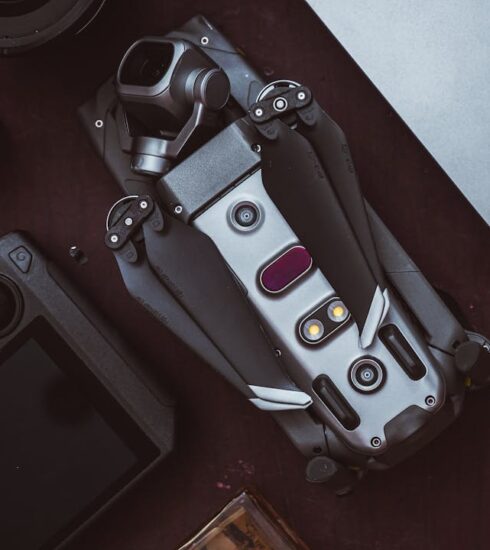
Some solid options for beginners include the DJI Mini series, Potensic Atom SE, and Autel Evo Lite.
Mastering Basic Controls
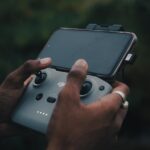
Flying a drone isn’t just about pushing a joystick around. Small movements make a big difference, and learning to control it smoothly is key to getting great shots.
Here’s what you should practice:
- Hovering – Keep your drone still at different heights without drifting.
- Slow movements – Move forward, backward, and side to side with smooth, controlled inputs.
- Yaw (rotation) – Practice spinning in place without tilting or losing control.
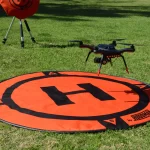
- Precision landings – Try landing on a small spot to improve accuracy.
Spending time on drone flight practice makes a huge difference when you’re out in the field. The better you control your drone, the better your shots will be.
Essential Pre-Flight Preparations
Before you head out, there are a few things you should check to make sure your flight goes smoothly.
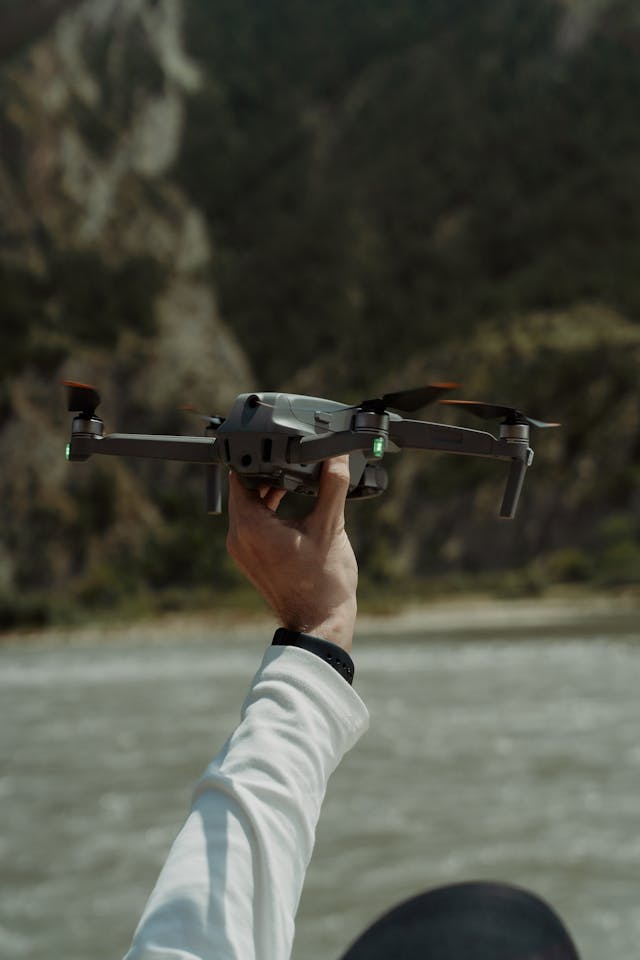
Understand Drone Regulations
Laws vary depending on where you live, but here are some common rules:
- Register your drone if it’s over a certain weight.
- Avoid flying near airports, military bases, or restricted areas.
- Stay below 400 feet and always keep the drone in sight.
- Don’t fly over crowds, roads, or private property without permission.
Apps like B4UFLY (USA) or Drone Assist (UK) can help you check no-fly zones in your area.
Pre-Flight Checklist
Before taking off, run through this quick checklist:
Battery charged – Low battery mid-flight? Bad idea.
Propellers secure – Loose or damaged blades affect stability.
GPS locked – A strong GPS signal helps with hovering and return-to-home.
Memory card inserted – Nothing worse than realizing it’s missing after you start flying.
Weather check – Avoid high winds, rain, or extreme temperatures.
Getting into the habit of checking these things will save you from headaches later.
Fundamental Drone Flight Practices
Getting smooth, cinematic shots starts with solid flying skills. Before diving into photography projects, spend some time on basic drone flight practice.
Hovering and Stability
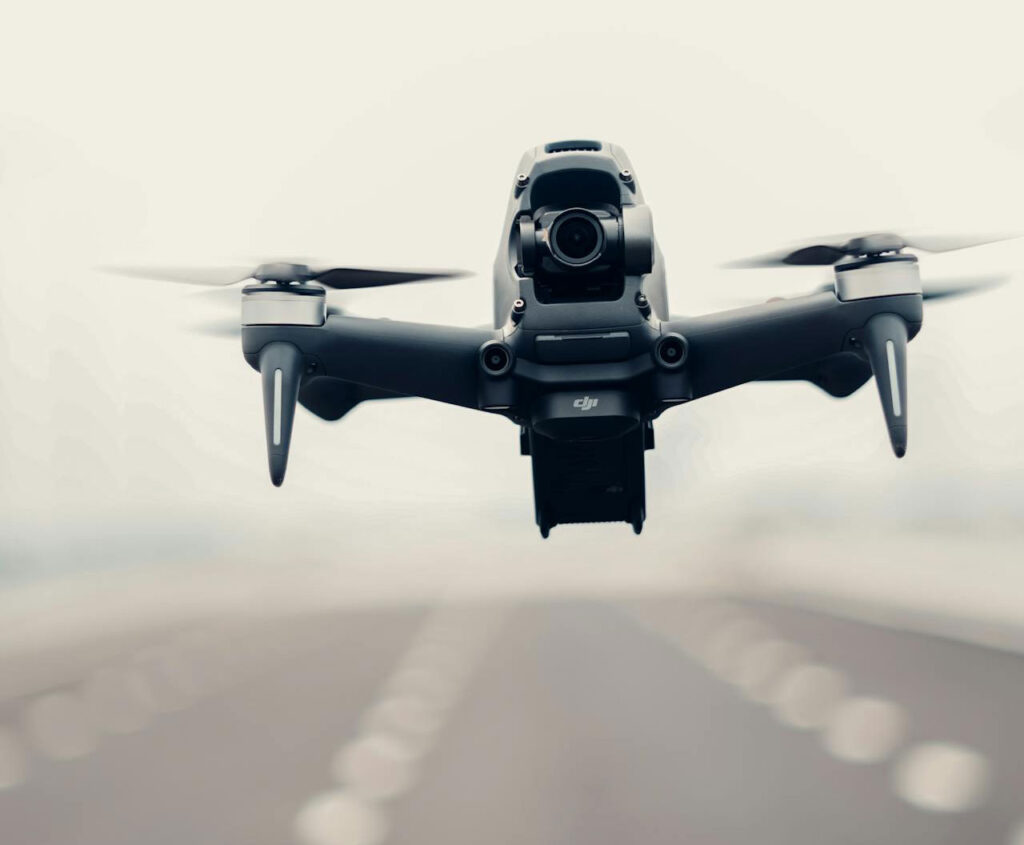
A good hover is the foundation of everything else. If you can keep your drone steady without drifting, your shots will look cleaner, and you won’t have to fix shaky footage later.
Try this:
- Take off and hover at eye level for 30 seconds.
- Adjust for small drifts using tiny joystick movements.
- Slowly raise and lower the drone while keeping it steady.
- Practice hovering in different wind conditions to see how your drone reacts.
Basic Maneuvers
Once hovering feels easy, start working on controlled movements. The smoother you fly, the better your footage will look.
Practice these simple drills:
- The Square Pattern – Fly forward, right, back, and left in a square.
- The Circle – Fly in a slow, wide circle while keeping the camera pointed at a fixed object.
- Slow Descents and Ascents – Go up and down without sudden drops.
- Side-to-Side Slides – Move left and right without tilting the camera angle.
Landing Practice
Landing seems simple, but beginners often struggle with it. Instead of dropping straight down, practice a gentle descent. Pick a small target (like a landing pad or a specific spot on the ground) and try to land precisely in that spot.
The more drone flight practice you put in, the smoother your shots will be when you start working on creative projects.
Beginner-Friendly Drone Photography Projects
Once you’re comfortable flying, it’s time to start taking some amazing shots. Here are a few beginner-friendly projects to try.
1. Aerial Landscapes
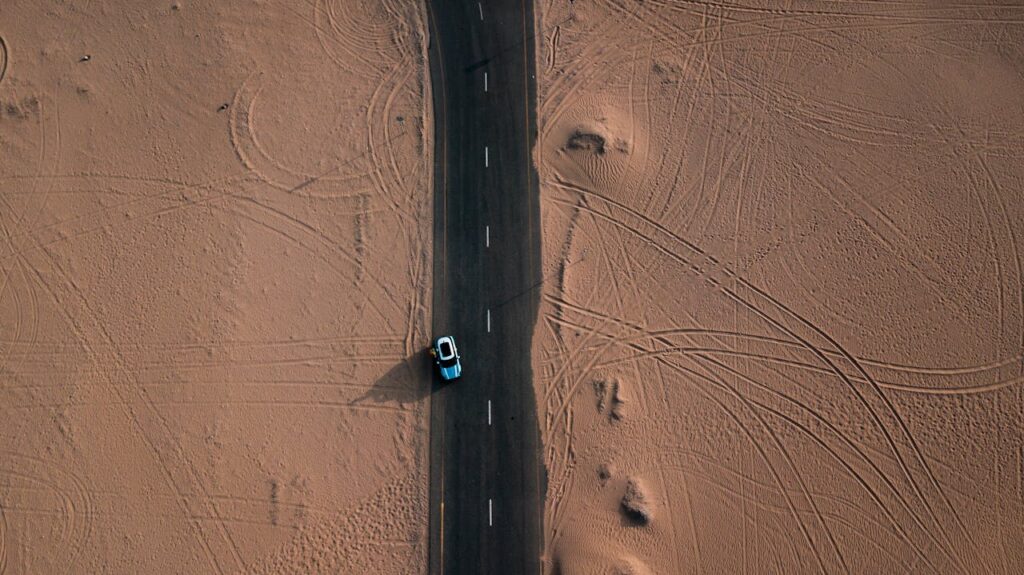
Capturing wide, sweeping views is one of the easiest ways to get stunning drone shots.
- Look for natural patterns like rivers, forests, and fields.
- Shoot during golden hour for soft, warm lighting.
- Try different heights to see how the perspective changes.
- Use the grid lines on your camera to balance the shot.
2. Top-Down Perspectives
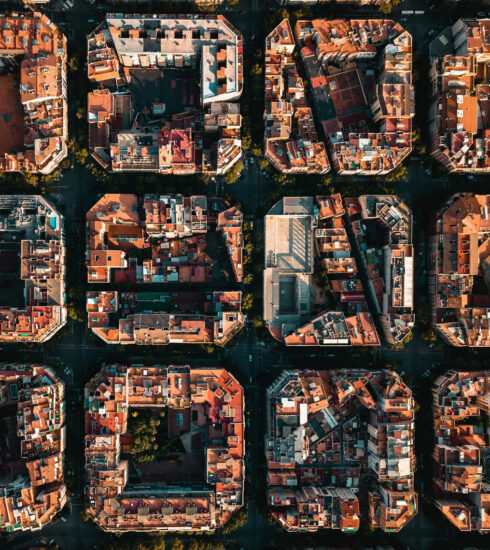
Shooting straight down can reveal patterns and textures you’d never notice from the ground.
Try photographing:
City streets for geometric shapes.
Crop fields for rows and symmetry.
Beaches for contrasting sand and water.
Flying higher up makes the image flatter, while flying closer adds depth.
3. Architecture from Above
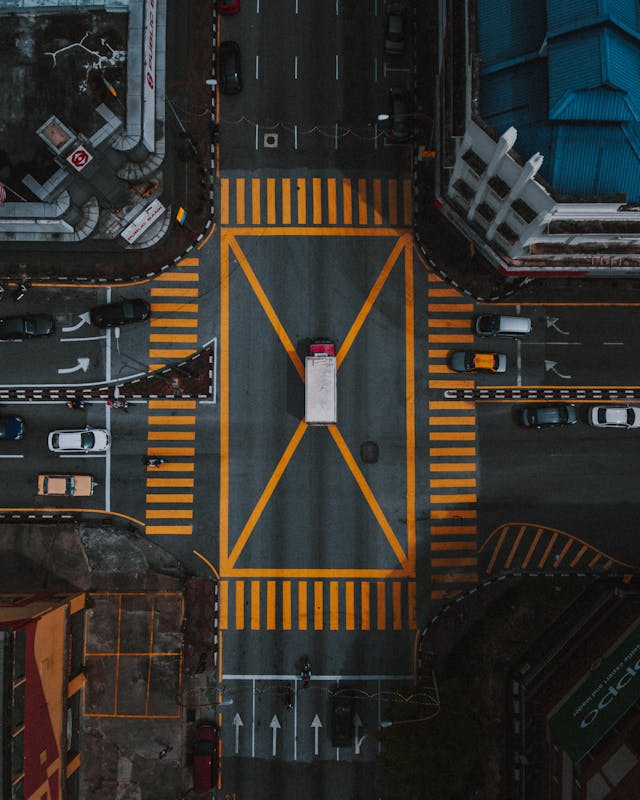
Drones offer a fresh perspective on buildings, bridges, and other man-made structures.
- Capture symmetry in modern architecture.
- Experiment with angles—even slight tilts can change the feel of a shot.
- Pay attention to shadows—tall buildings cast dramatic ones during golden hour.
4. Seasonal Changes
Pick a single spot and photograph it in different seasons to show how it transforms.
Good locations for this project:
- Forests or tree-lined streets (great for fall colors).
- Parks with open fields.
- Lakes and rivers that freeze in winter.
Keep your framing consistent each time for the best results.
5. Leading Lines
Use roads, rivers, fences, or other natural lines to guide the viewer’s eye through the image.
Best places to find leading lines:
Long highways cutting through nature.
Shorelines curving into the distance.
Adjust your height and angle to make the lines stand out more.
6. Urban Exploration
Cities look completely different from the air.
- Shoot straight down for a grid-like effect.
- Capture traffic patterns during rush hour.
- Look for contrasts—parks in the middle of concrete jungles make for interesting compositions.
7. Golden Hour and Blue Hour Photography
Lighting is everything in photography, and these times of day offer some of the best conditions.
- Golden Hour (sunrise/sunset) – Warm, soft light and long shadows.
- Blue Hour (after sunset, before sunrise) – Cooler tones and city lights starting to glow.
Drones struggle in low light, so experiment with settings like ISO and shutter speed to get the best results.
8. Panoramic Shots
If your drone has a panoramic mode, try stitching together multiple images for a wide-angle view.
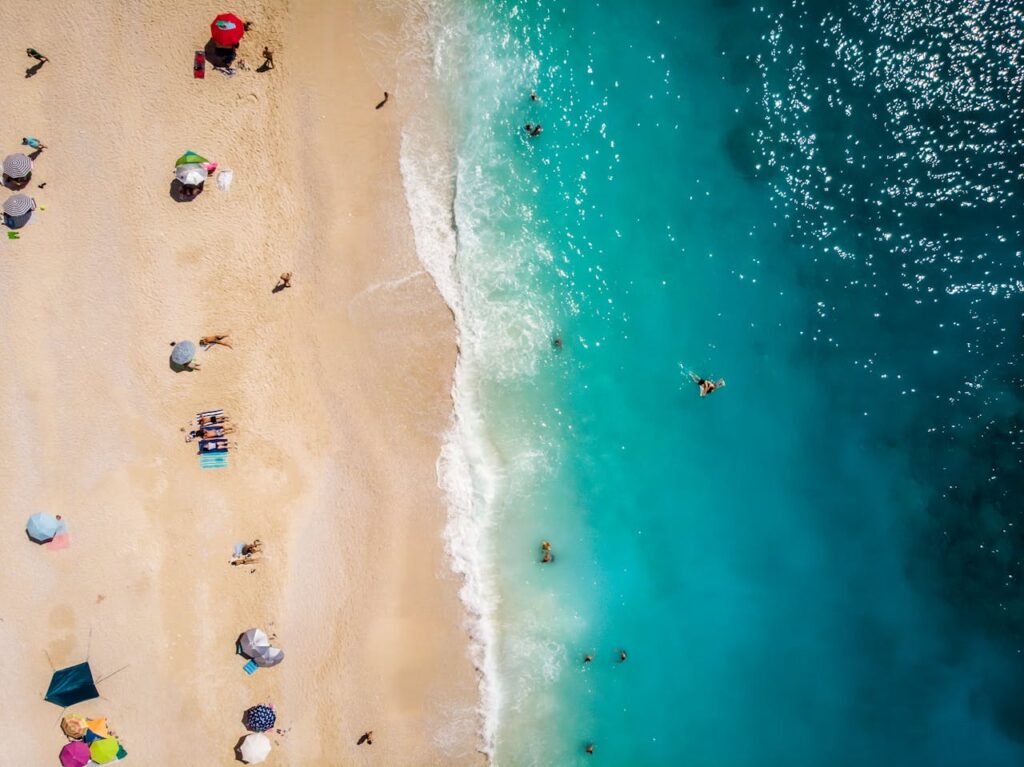
Great places for drone panoramas:
Mountain ranges.
Coastlines.
City skylines.
Take shots at different exposures and merge them in editing software for the best results.
Enhancing Your Aerial Shots
Great drone photography isn’t just about where you fly—it’s also about how you frame your shots, work with light, and edit your photos. Here are some tips to level up your images.
Composition Techniques
A few small tweaks can make a big difference in how your drone shots look.
- Rule of Thirds – Use the grid lines on your camera to place the subject off-center for a more balanced shot.
- Leading Lines – Roads, rivers, and fences naturally guide the eye through an image.
- Framing – Look for trees, buildings, or other objects that can create a natural frame around your subject.
- Negative Space – Don’t be afraid of empty space (like sky or water) to make your subject stand out more.
Lighting Considerations
Lighting can make or break a photo.
- Golden Hour (sunrise/sunset) – Creates warm tones and long, dramatic shadows.
- Midday – Not ideal due to harsh lighting and deep shadows. If you must shoot, use clouds or water reflections to soften the effect.
- Blue Hour (after sunset, before sunrise) – Great for capturing city lights or cool, moody tones.
Drones struggle in low light, so adjust your ISO and shutter speed carefully to avoid noise and blur.
Post-Processing Basics
Editing can take a good shot and make it great. If you’re new to photo editing, start with basic adjustments:
Exposure – Brighten up dark images or tone down highlights.
Contrast – Add more depth by enhancing the difference between lights and darks.
Saturation – Bring out colors, but don’t overdo it—keep it natural.
Sharpness – Make details pop, but avoid going too far, or the image will look unnatural.
Free editing tools like Snapseed or Lightroom Mobile are great for quick edits. If you want more control, Adobe Lightroom or Photoshop give you pro-level options.
Safety and Best Practices
Drones are fun, but they also come with responsibilities. Before heading out, keep these safety tips in mind.
Prioritizing Safety
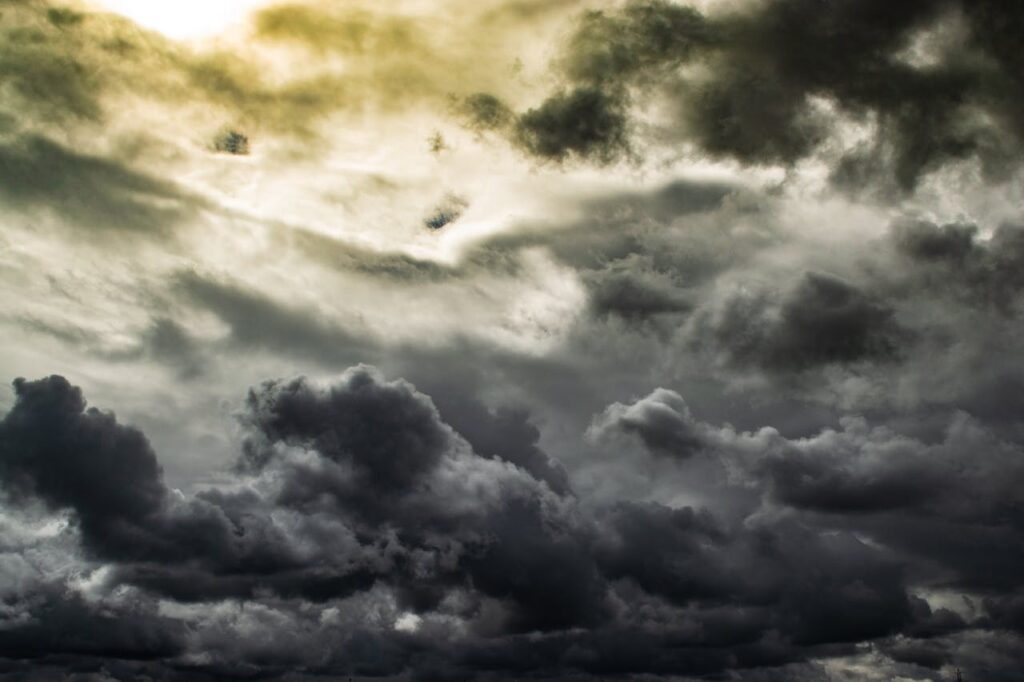
- Check the weather – Windy conditions can throw off your drone, especially if it’s lightweight.
- Keep the drone in sight – Flying beyond your visual line of sight is not only risky but often illegal.
- Avoid people and animals – Birds and drones don’t mix, and you don’t want to startle pets or pedestrians.
- Be ready for emergencies – Know how to use the return-to-home (RTH) function in case of lost signal or low battery.
Continuous Learning
Once you’ve nailed the basics, keep improving.
- Join drone photography communities – Online forums, Facebook groups, and Reddit threads are full of helpful advice.
- Watch tutorials – YouTube is packed with beginner-friendly guides on editing, composition, and drone flight practice.
- Consider certifications – If you want to go pro, getting a commercial drone license can open up new opportunities.
Final Thoughts
Starting with simple drone flight practice and easy projects is the best way to build confidence and improve your aerial photography skills. The more you experiment with different angles, lighting, and compositions, the better your shots will get.
Whether you’re capturing landscapes, cityscapes, or creative top-down shots, the key is to keep practicing, keep learning, and most of all, have fun.
Now, grab your drone and start shooting!
Frequently Asked Questions (FAQ)
1. What’s the best drone for beginners interested in photography?
For beginners, drones like the DJI Mini 3, DJI Air 2S, and Autel Evo Lite offer great camera quality, easy controls, and beginner-friendly flight modes. Look for a drone with good stabilization, auto-hover, and a long battery life to make learning easier.
2. How do I improve my drone flight skills?
The best way to improve is through consistent drone flight practice. Start with basic maneuvers like hovering, flying in squares and circles, and smooth landings. Try flying in different conditions, but avoid strong wind and low light while you’re still learning.
3. What settings should I use for better drone photos?
For the best results:
Shoot in RAW for more editing flexibility.
Lower ISO (100–200) to avoid noise.
Use manual focus when possible for sharper shots.
Experiment with shutter speed—slower speeds create motion blur, while faster speeds freeze action.
4. Where can I legally fly my drone?
Drone laws vary by country, but in most places, you should:
- Stay under 400 feet
- Avoid flying over people, roads, and restricted areas
- Keep the drone within your line of sight
Use apps like B4UFLY (USA) or Drone Assist (UK) to check local flight restrictions.
5. How do I take smoother aerial videos with my drone?
To get cinematic drone footage:
Fly slowly and smoothly—fast, jerky movements look unprofessional.
Use gimbal stabilization to keep the camera steady.
Practice gradual turns and altitude changes for a polished look.
Try ND filters to control exposure and motion blur.


