Drone Composition: 10 Techniques for Stunning Aerial Photography
Drone photography opens up a whole new world of creative possibilities. But just because you’ve got a bird’s-eye view doesn’t mean every shot is going to be breathtaking. Good composition is what separates average drone photos from ones that make people stop scrolling.
If you’re new to drone photography, getting a solid grip on composition techniques will help you create more balanced, eye-catching shots. This guide covers ten techniques that will instantly improve your aerial photos.
This post contains affiliate links. If you purchase through these links, I may earn a small commission at no additional cost to you. Your support helps keep this site running—thank you!
1. Use the Rule of Thirds
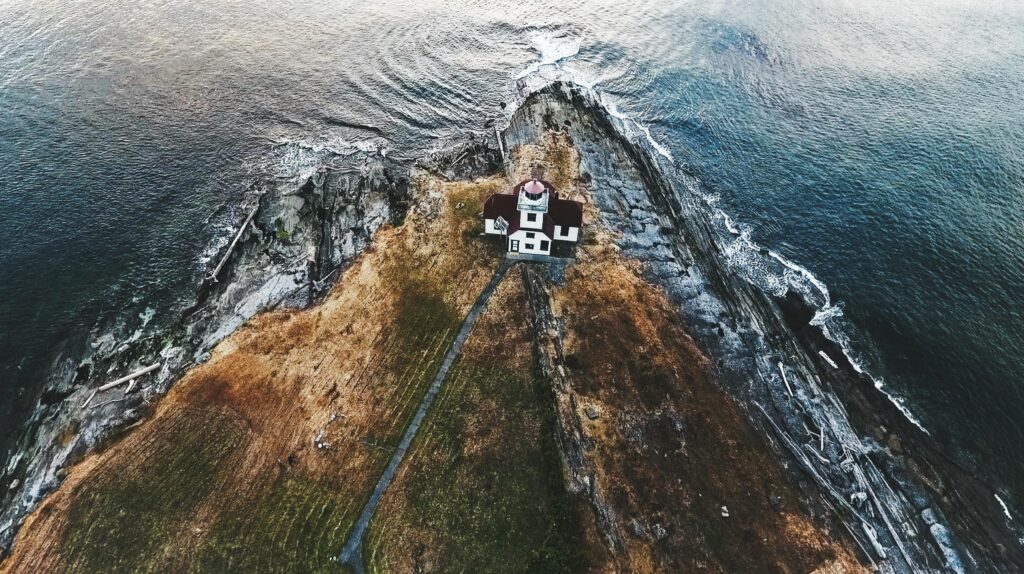
The rule of thirds is a simple but powerful way to frame your shots. Picture a 3×3 grid over your screen. Instead of centering everything, place key elements along the grid lines or at the intersections.
Why does this work?
- It keeps your shots from looking static or dull.
- It makes the photo feel more balanced and natural.
- It helps guide the viewer’s eye to the most important part of the image.
How to use it in drone photography:
- For landscapes, place the horizon along the top or bottom third, not dead center.
- If you’re shooting a lone subject—like a boat in the ocean—position it at an intersection point for a more dynamic feel.
- Enable your drone’s grid overlay to help frame your shots properly.
Once you get comfortable with this, you can start bending the rules—but it’s always a solid starting point.
2. Use Leading Lines to Draw the Eye
Leading lines are natural or man-made elements that guide the viewer’s eye toward a focal point. Roads, rivers, fences, shorelines, and even shadows can create strong directional flow in your shot.
Why leading lines work:
- They add depth and perspective.
- They make your image feel more immersive.
- They help tell a story by guiding the viewer toward something important.
How to use leading lines in drone composition:
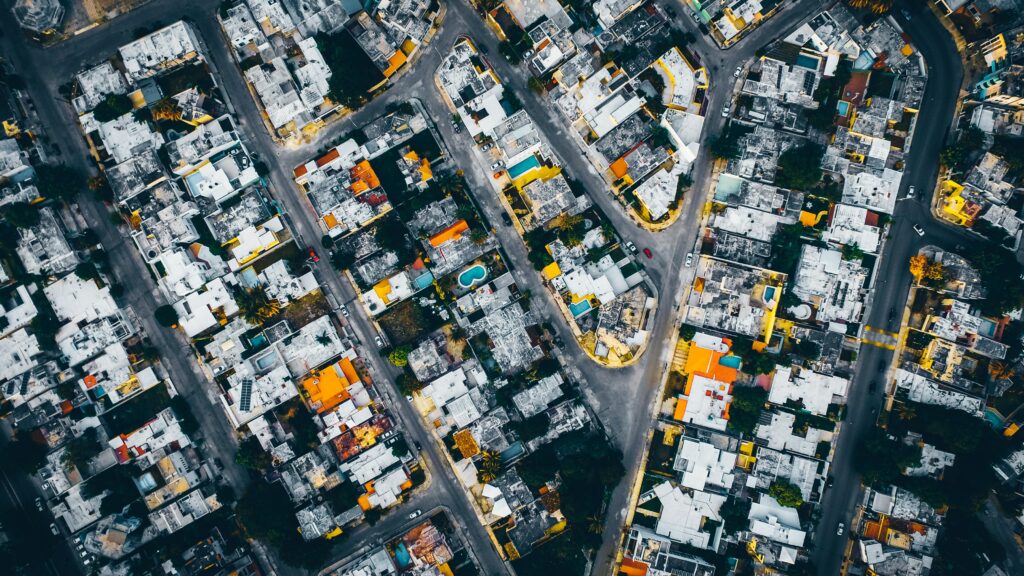
Find roads, rivers, or paths – A winding road or a river can lead the viewer’s eye into the distance, making the shot feel bigger.
Use buildings or architecture – Urban shots often have great leading lines in the form of streets, bridges, or rooftops.
Experiment with angles – Shooting straight down can make patterns pop, while a slight tilt can create a more dramatic effect.
A well-placed leading line can turn a good shot into a great one. Look for patterns before taking off and plan your shot around them.
3. Capture Symmetry and Patterns
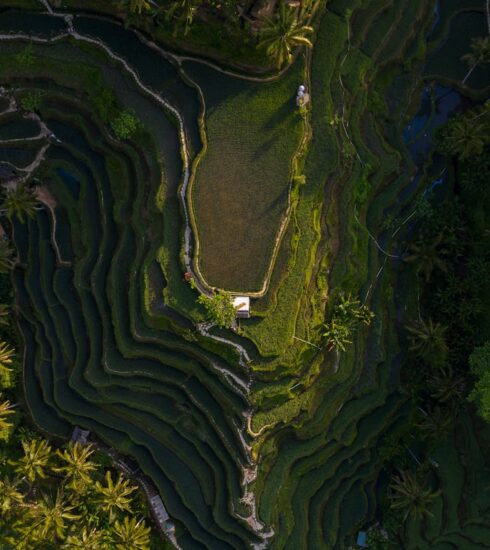
Drone photography gives you access to symmetrical and repeating patterns that aren’t visible from the ground. Nature, cityscapes, and even crowds of people can create visually striking symmetry that adds balance to your composition.
Examples of symmetry in aerial shots:
A perfectly still lake reflecting the sky
A city skyline with mirrored architecture
Crop fields or tree lines forming geometric patterns
A long pier extending into the ocean
How to make symmetry work:
- Center it carefully – If you’re going for a symmetrical shot, get it perfectly aligned. A slight misalignment can throw off the effect.
- Look for repeating elements – Wind turbines, solar farms, and urban grids can create hypnotic patterns from above.
- Try top-down shots – A 90-degree angle straight down often works best for capturing symmetry.
If you spot symmetry while flying, frame it deliberately. The stronger the symmetry, the more eye-catching your photo will be.
4. Experiment with Altitude for Different Perspectives
One of the biggest advantages of drone photography is being able to control your altitude. Changing how high or low you fly can completely transform the look of a shot.
Why altitude matters in drone composition:
- Higher altitudes give you a broad, sweeping view of landscapes, patterns, and symmetry.
- Lower altitudes let you capture details, textures, and more intimate perspectives.
- Mid-range shots provide a balance between scale and subject clarity.
How to use altitude effectively:
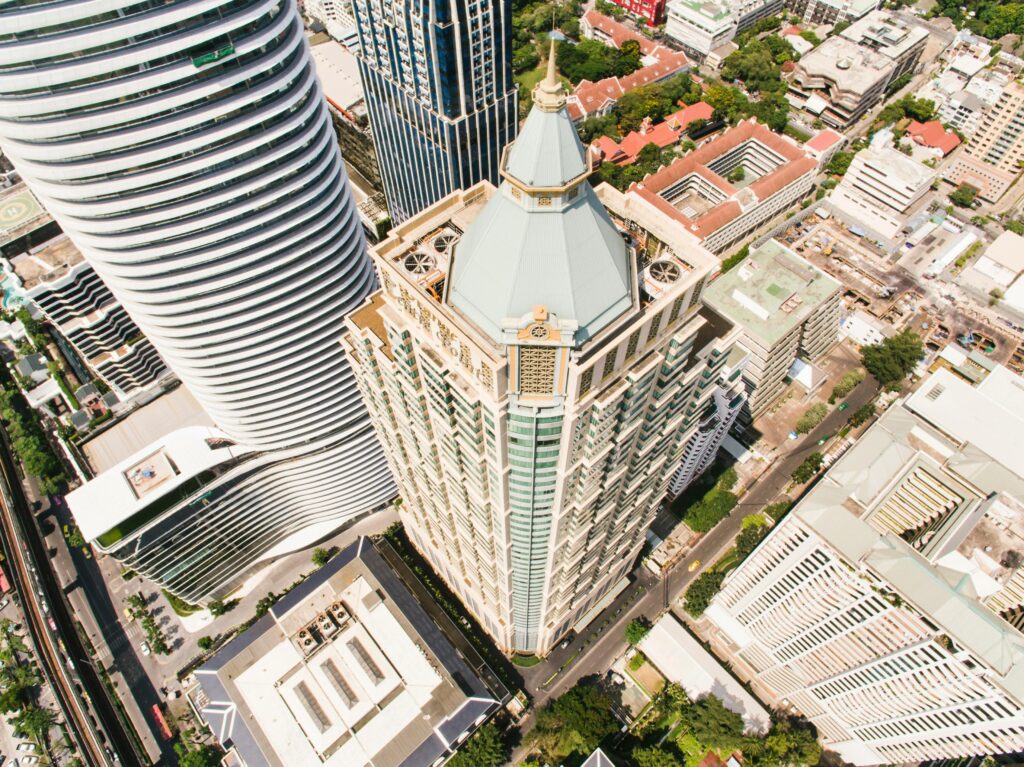
Go high to reveal hidden patterns – Fly higher to spot symmetry in architecture, farmland, or natural formations.
Go low for more dramatic compositions – Getting closer to a subject creates a sense of depth and scale.
Mix it up – Don’t settle for the first altitude you try. Fly at different heights and compare the results.
Instead of just sending your drone straight up, take some time to experiment with different heights to see what works best for your subject.
5. Include a Strong Focal Point
Every great photo needs a clear subject—something that grabs attention right away. Without a focal point, a drone photo can feel empty or directionless.
What makes a strong focal point?
A single, isolated subject (a boat in an ocean, a lone tree in a vast field)
A bright color that contrasts with the surroundings
A recognizable structure (a lighthouse, a bridge, a mountain peak)
How to emphasize the focal point:
- Use negative space – Keeping the surrounding area uncluttered draws more attention to your subject.
- Frame it with leading lines – Roads, paths, and rivers can guide the viewer’s eye right to the main subject.
- Make it pop – A focal point with strong contrast (in color, shape, or light) stands out more.
Before pressing the shutter, ask yourself: What do I want people to focus on first? If there’s no clear answer, adjust your framing.
6. Add Human Elements for Scale
Drone photos can sometimes feel too abstract or distant. Adding a person or man-made object can instantly give your shot context and scale.

Why adding human elements works:
- It makes vast landscapes feel even more impressive.
- It creates a connection between the viewer and the scene.
- It provides a sense of movement and life.
Ways to include human elements in drone composition:
Shoot hikers, surfers, or cyclists – A single person in a massive landscape tells a compelling story.
Use vehicles for scale – A car on an empty road, a boat on the water, or a train cutting through the landscape creates a sense of size.
Frame people dynamically – Position them using the rule of thirds or leading lines to keep the composition strong.
If your shot feels too distant or lacks a strong subject, adding a human element can make all the difference.
7. Use Diagonal Lines for More Dynamic Shots
Diagonal lines create energy and movement in a composition. They naturally lead the viewer’s eye through the image, making it feel more three-dimensional.
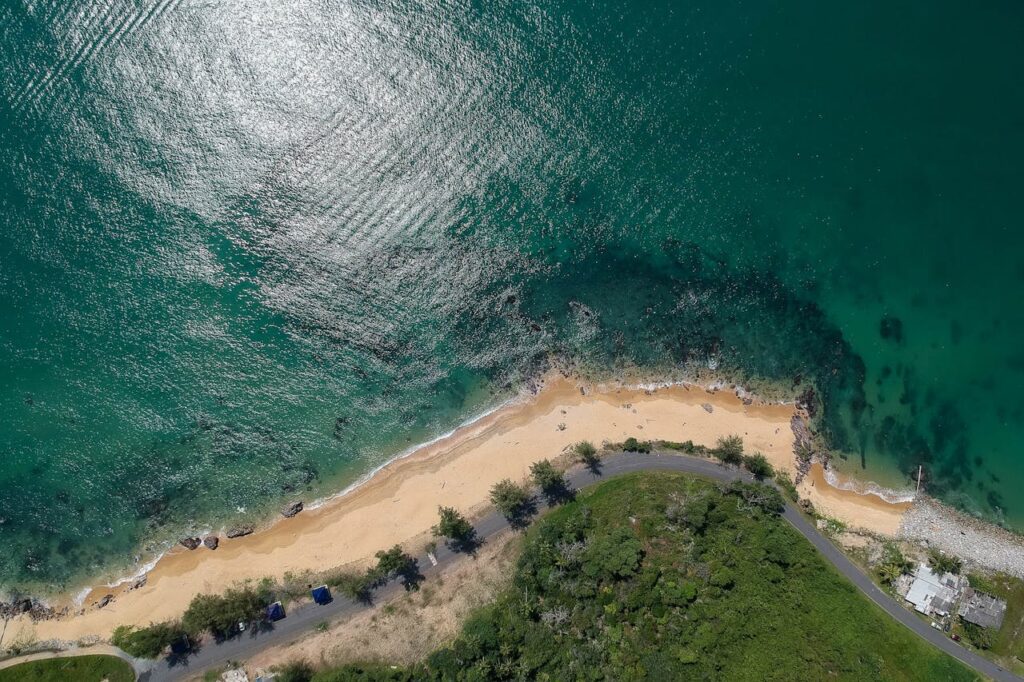
Where to find diagonal lines in drone photography:
Roads and highways cutting through landscapes
Shorelines curving along the coast
Mountain ridges creating natural depth
Bridges and urban structures forming strong angles
How to use diagonal lines effectively:
- Position them intentionally – Place diagonal lines so they lead toward a focal point.
- Combine with leading lines – Diagonal roads, rivers, or train tracks work great as visual guides.
- Tilt the camera slightly – Adjusting the angle of your shot can enhance diagonal compositions.
If your shot feels flat, try shifting your angle to introduce more diagonal elements.
8. Try Unique Perspectives and Angles
One of the best things about drone photography is the ability to capture angles that are impossible with a regular camera.
Unique perspectives to try:
Top-down (90-degree angle) – This removes depth, turning landscapes into abstract art.
Low-altitude with foreground elements – Flying low and incorporating trees, buildings, or cliffs adds depth.
Oblique angles – Instead of shooting straight down, tilt the camera slightly for a more dramatic effect.
Don’t just take the obvious shot. Play around with angles and perspectives to create something fresh.
9. Consider Lighting and Time of Day
Lighting can make or break a drone photo. Shooting at the right time of day can bring out textures, colors, and shadows that completely transform an image.
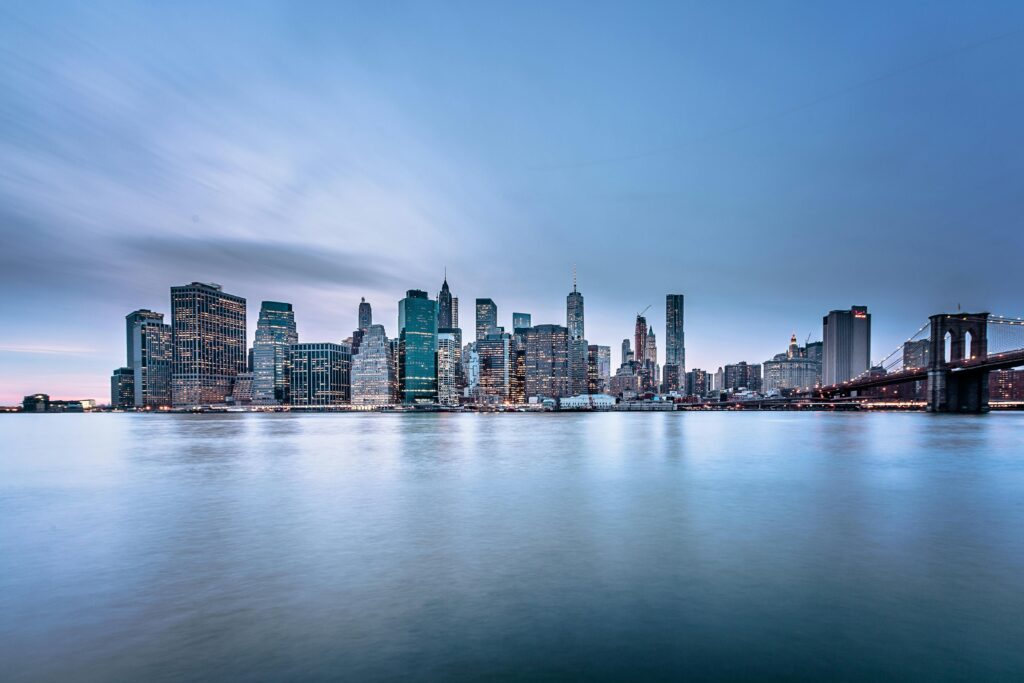
Best times for drone photography:
Golden hour (sunrise or sunset) – Soft light, long shadows, and warm colors make everything look better.
Blue hour (just before sunrise or after sunset) – Great for capturing city lights and moody tones.
Midday (use carefully) – Strong shadows can be interesting but avoid harsh, washed-out lighting.
Lighting tips for better drone composition:
- Shoot with the sun behind you – This keeps your subject well-lit and avoids overexposed skies.
- Use shadows creatively – Long shadows can add depth and drama.
- Avoid overexposing highlights – Drones can struggle with bright areas, so adjust exposure settings as needed.
Good lighting can take an ordinary shot and turn it into something stunning.
10. Keep Practicing and Experimenting
No matter how many composition techniques you learn, the best way to improve is by flying often and trying new things.
How to keep improving:
Review your shots – Analyze what works and what doesn’t.
Try different settings – Play with exposure, angles, and altitudes.
Look at other photographers’ work – Find inspiration and challenge yourself to replicate or improve on different styles.
Drone photography is all about exploration. The more you experiment, the better your eye for composition will get.
Final Thoughts
Good drone composition isn’t about having the fanciest equipment—it’s about knowing how to frame a shot. By using these techniques—rule of thirds, leading lines, symmetry, focal points, lighting, and perspective—you’ll start taking drone photos that grab attention and tell a story.
The next time you take your drone out, don’t just fly and shoot randomly. Think about composition, experiment with different techniques, and watch your aerial photography improve with every flight.
Frequently Asked Questions (FAQ)
1. What is the best altitude for drone photography?
There’s no single best altitude—it depends on the shot you’re going for. Higher altitudes work well for capturing large landscapes and patterns, while lower altitudes are better for detailed, intimate shots. Try flying at different heights to see what works best for your composition.
2. How do I make my drone photos look more professional?
Focus on strong composition techniques like the rule of thirds, leading lines, and focal points. Shoot during golden hour for better lighting, adjust your exposure settings, and edit your images to enhance colors and contrast.
3. What’s the best time of day to shoot drone photos?
Golden hour—shortly after sunrise or before sunset—is ideal for warm lighting and long shadows that add depth. Blue hour (before sunrise or after sunset) is great for moody, atmospheric shots. Midday can be challenging due to harsh lighting but can work well for top-down shots.
4. How do I find good locations for drone photography?
Look for places with strong visual elements like winding roads, symmetry, or unique patterns. Apps like Google Earth, Instagram, and drone-specific maps (like DroneDeploy) can help you scout locations before you fly.
5. Do I need to edit my drone photos?
Yes, editing can make a big difference. Adjust brightness, contrast, and color balance to enhance the image. Tools like Adobe Lightroom, Photoshop, or free apps like Snapseed can help you refine your shots and bring out the best in your drone composition.
